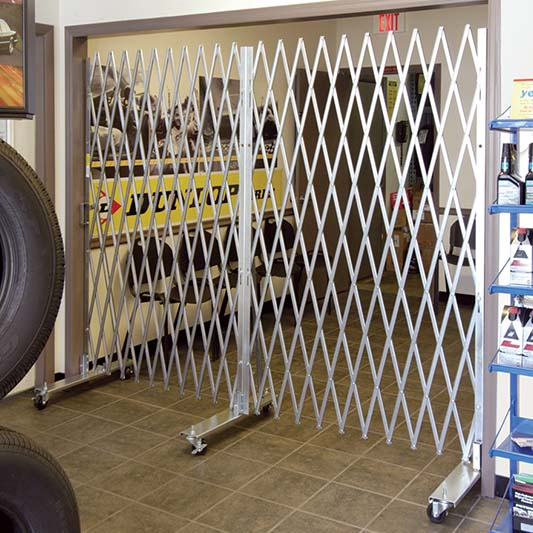
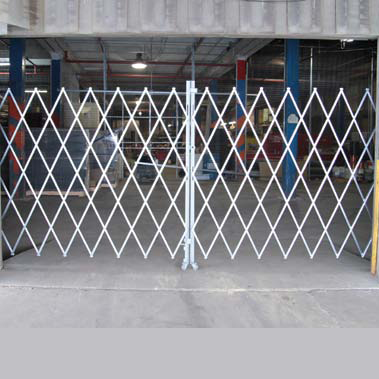
Industrial Folding Security Gates
Improve Security, Visibility and Ventilation with Quality, American-Made Steel Folding GatesFolding Accordion Security Gates at Wholesale Reseller Prices
Call 1.800.448.2647 to speak with a product specialist, today!

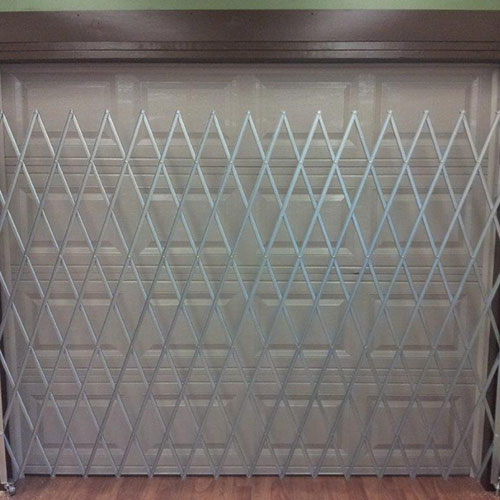
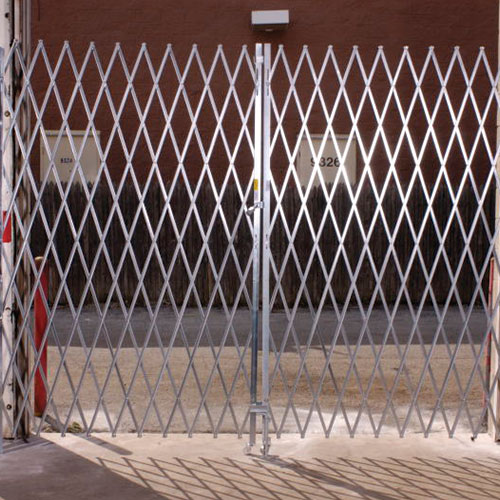
Whether you call them scissor gates or accordion gates, our heavy-duty, steel folding security gates are an affordable and functional way to secure any area.
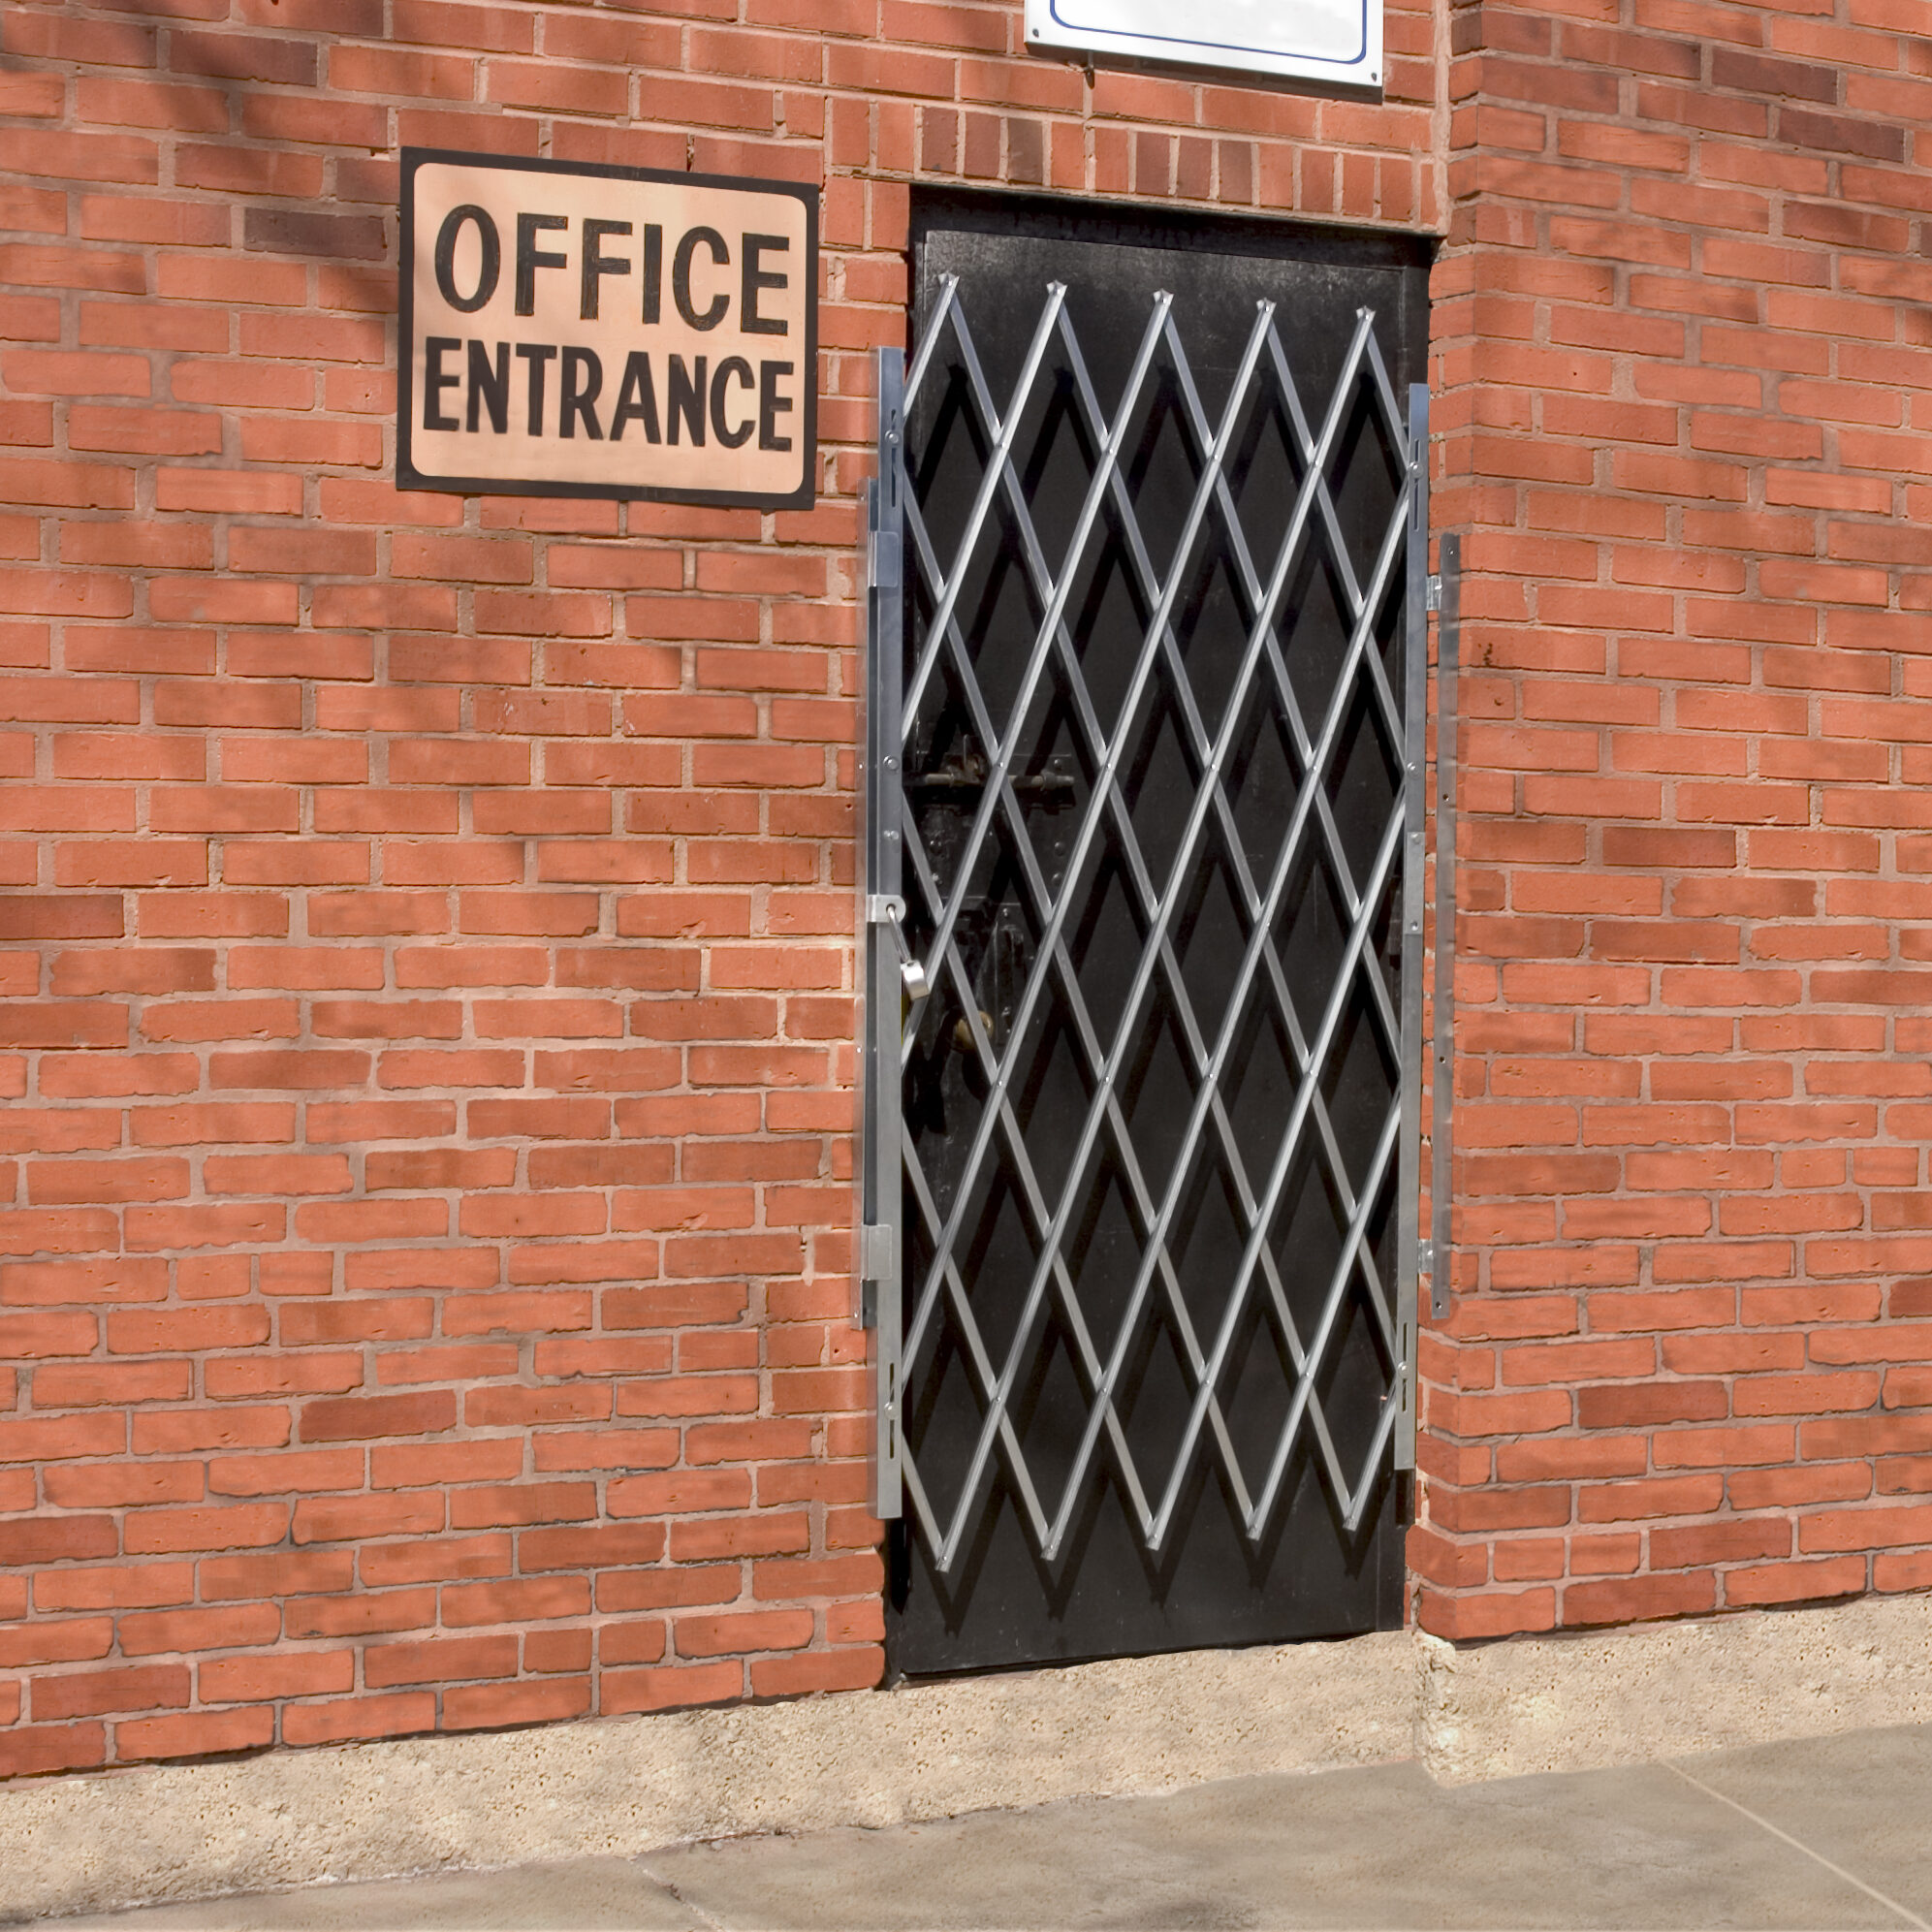
Secure your hallways, and entrance ways. Add our industrial gates to doors and protect your property! Why use wood and boards when you can have a permanent solution that opens and closes when you need it to.
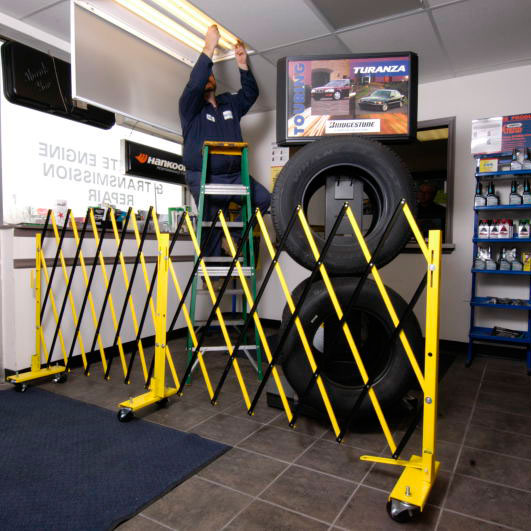
Use our aisle, barrier and portable gates for temporarily guarding areas during your home improvement work, too.
Match your site’s color scheme. Our strong, galvanized steel portable gates are available in a wide variety of attractive color choices.
View our security gate installation guides – no special tools required!
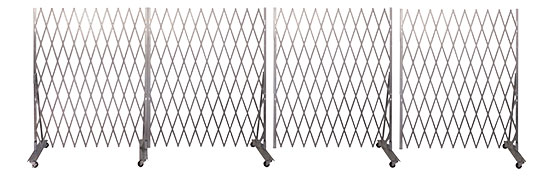
Featured Gate Products
Look through our gate products and find what you require for your security and safety needs.

Questions About Our Gates or Other Products?
Have a specific request that you can’t quite find on our website or FAQs page? Do you need assistance or have questions about a product or service you’ve come across? At Tamis, we’re dedicated to providing you with a seamless and customer-centric experience.
Our team is here to help and ensure that you get the support you need. Whether it’s a unique, custom solution you’re after or simply a bit of guidance, we’re ready to assist you every step of the way. We understand that your needs might be as unique as your brand, and we’re committed to being your go-to resource for all things related to gates and security.
Don’t hesitate to reach out to us. You can connect with our friendly and knowledgeable team by dialing our toll-free number at (800) 448-2647, or you can use our convenient contact form to send us your inquiries. Your satisfaction is our top priority, and we’re here to ensure that your experience with us is exceptional.

